Planting Microgreen Seeds: Tips and Tricks
Introduction:
In the realm of indoor gardening, microgreens have become a sensation, transforming windowsills and countertops into vibrant mini-gardens bursting with flavor and nutrition. These tiny, nutrient-packed greens are not only easy to cultivate but also offer a swift turnaround from seed to harvest. If you’re ready to embark on the journey of planting microgreen seeds, this guide is your passport to a world of freshness and culinary creativity. Let’s explore the tips and tricks that will turn your indoor space into a thriving microgreen haven.

The Microgreen Magic
1. Understanding Microgreens:
Microgreens are the young, edible seedlings of vegetables and herbs. They are harvested at an early stage, just after the cotyledon leaves (the first leaves to appear) have developed. Despite their small size, microgreens pack a concentrated punch of nutrients and flavors.

2. Seed Selection Matters:
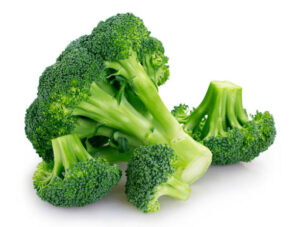
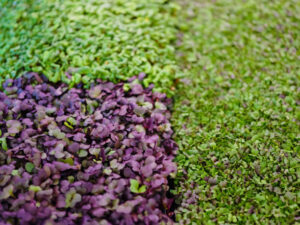
Choose high-quality, organic seeds for your microgreen adventure. Popular microgreen varieties include arugula, kale, radish, broccoli, and sunflower. Each seed brings its unique flavor profile to the table, allowing you to create a diverse and colorful microgreen garden.
3. Selecting the Right Growing Medium:
Opt for a lightweight and nutrient-rich growing medium. A soilless mix or coconut coir works well for microgreens, providing a sterile environment that minimizes the risk of diseases.
4. Container Choices:
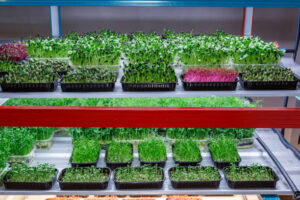
When it comes to containers, shallow trays or flat containers with drainage holes are ideal for microgreens. Ensure that the containers are clean and have proper drainage to prevent waterlogging.
5. Pre-soaking Seeds:
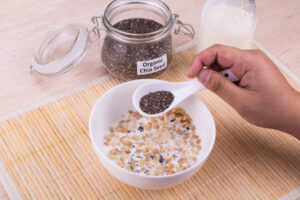
Some microgreen seeds benefit from pre-soaking before planting. This process helps kickstart the germination process and can lead to more uniform growth. However, not all seeds require pre-soaking, so be sure to check specific recommendations for the seeds you’re using.
The Planting Process
1. Sowing Density: Microgreens are typically grown densely to maximize the yield of tender shoots. Evenly distribute the seeds across the growing medium, ensuring thorough coverage without overcrowding.
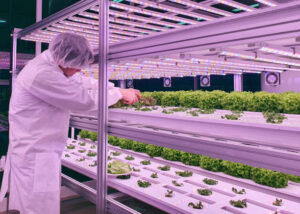
2. Light and Temperature: Adequate light is crucial for healthy microgreen growth. Place your containers in a location with bright, indirect sunlight or use grow lights. Maintain a consistent temperature between 60-75°F (15-24°C) for optimal germination and growth.
3. Covering Seeds: Lightly cover the seeds with a thin layer of growing medium to protect them from drying out and to provide the darkness some seeds need for germination. Use a spray bottle to moisten the top layer without disturbing the seeds.
4. Watering Techniques: Keep the growing medium consistently moist but not waterlogged. Water from the bottom by placing the container in a tray filled with water, allowing the medium to absorb moisture. Avoid overhead watering to prevent seed displacement.
Care and Harvesting
Thinning Seedlings:
Once the microgreens have developed their first true leaves, consider thinning them to provide more space for healthier growth. Use clean scissors to snip excess seedlings at the base.

Nutrient Boost:
If using a soilless mix, consider providing a diluted nutrient solution once the true leaves emerge. Microgreens are nutrient-dense, but a gentle boost can enhance their growth.
Harvesting at the Right Time:
Microgreens are typically ready for harvest 7-21 days after planting, depending on the variety. Harvest when the cotyledon leaves are fully developed, and the first true leaves begin to appear. Use clean scissors to cut just above the soil level.
Storage and Enjoyment:
Freshly harvested microgreens can be stored in the refrigerator for a few days. Rinse them just before use to remove any residual growing medium. Incorporate microgreens into salads, sandwiches, smoothies, or as a garnish for a burst of flavor and nutrition.
Troubleshooting Tips:
1. Preventing Mold: Adequate ventilation and proper spacing can help prevent mold issues. Ensure good air circulation around your microgreens, especially during the germination phase.
2. Managing Leggy Growth: Leggy growth can occur if the microgreens are not receiving enough light. Adjust the light source or move them to a sunnier location to encourage compact and sturdy growth.

Conclusion:
Planting microgreen seeds is a rewarding and accessible way to bring fresh, nutrient-rich greens into your daily life. Whether you’re an experienced gardener or a novice, the journey from seed to harvest is a fascinating and rapid process. Experiment with different varieties, get creative with your culinary creations, and revel in the joy of cultivating a miniature garden that packs a powerful punch. Happy planting and harvesting!


