Build Your Own Polytunnel: A DIY Guide
Introduction
Transforming your gardening aspirations into reality often involves finding creative solutions to extend the growing season and protect your plants from the elements. A polytunnel, with its versatility and cost-effectiveness, emerges as an excellent choice for both novice and seasoned gardeners. In this DIY guide on “Build Your Own Polytunnel,” we’ll explore the steps, considerations, and practical tips to help you embark on a rewarding journey of creating your customized protected growing space.

Choosing the Right Location: Foundations of Success
Selecting the right location for your polytunnel is akin to laying the foundations of a sturdy structure. Opt for a spot with maximum sunlight exposure, preferably facing south to capture the full benefit of the sun’s rays. Ensure the chosen area is well-drained to prevent waterlogging, and consider the proximity to water sources for convenient irrigation.
Gathering Materials: A Blueprint for Success
Before diving into the construction process, gather the necessary materials to streamline your DIY polytunnel project. You’ll need galvanized steel tubing for the frame, durable polyethylene film for covering, and anchors or stakes to secure the structure to the ground. Additionally, gather the tools required, such as a saw, measuring tape, and a drill to facilitate efficient assembly.

Creating the Frame: A Framework for Growth
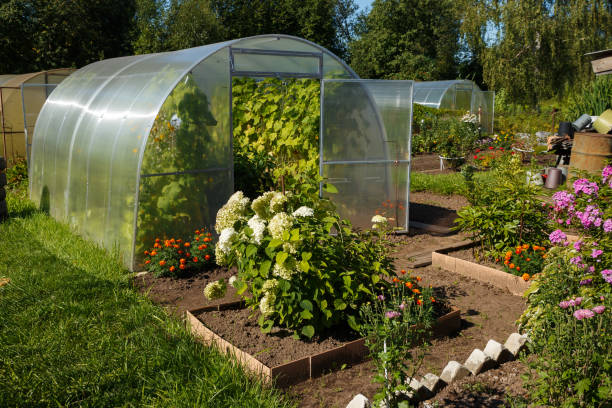
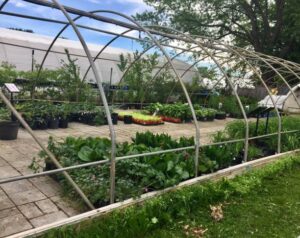
Constructing the frame is a pivotal step in building your polytunnel. Cut the galvanized steel tubing to the desired lengths, keeping in mind the width and height of your tunnel. Create a series of hoops by bending the tubing, ensuring they are evenly spaced for structural integrity. Secure the hoops to the ground using anchors or stakes, forming the basic skeleton of your polytunnel.
Covering the Structure: Shielding Your Garden Oasis
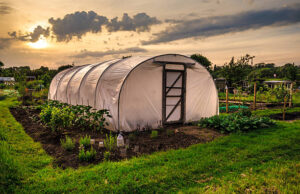
Once the frame is in place, it’s time to cover your polytunnel with durable polyethylene film. Ensure the film is pulled taut and securely fastened to the frame. Consider using a double layer for added insulation, especially if you plan to extend your growing season into colder months. Secure the film at the ends and along the sides, creating a snug and weather-resistant enclosure for your plants.
Ventilation and Temperature Control: Creating an Ideal Environment
To foster a healthy and thriving garden within your polytunnel, prioritize ventilation and temperature control. Incorporate roll-up sides or vents along the length of the tunnel to facilitate air circulation during warmer days. Additionally, consider installing a thermometer to monitor internal temperatures, allowing you to make informed decisions on ventilation and cooling strategies.
Irrigation Systems: Nourishing Your Garden Haven
Efficient watering is a key aspect of successful gardening, and your polytunnel should be equipped with a reliable irrigation system. Drip irrigation or soaker hoses are excellent choices for maintaining optimal soil moisture without overwatering. Consider installing a rainwater harvesting system to make the most of natural resources and reduce your environmental impact.
Choosing the Right Crops: Tailoring Your Garden Sanctuary
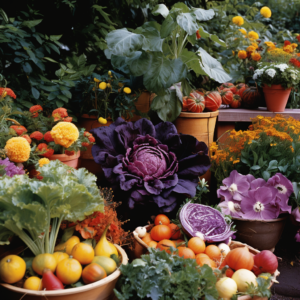
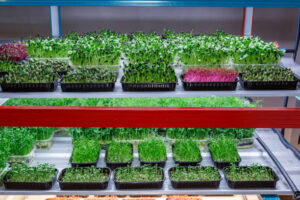
With your polytunnel in place, the next step is selecting the right crops to cultivate within this protected environment. Polytunnels provide an opportunity to experiment with a wide range of plants, from heat-loving tomatoes and peppers to cool-season greens like lettuce and spinach. Consider your local climate and the specific needs of your chosen crops to maximize the benefits of your polytunnel.
Maintenance and Upkeep: Sustaining Your Green Oasis
Regular maintenance is essential to ensure the longevity and effectiveness of your DIY polytunnel. Periodically check for any tears or damage in the polyethylene film and promptly repair or replace it as needed. Inspect the frame for signs of rust and address any issues promptly. Regular weeding and soil monitoring contribute to a healthy growing environment for your plants.
Expanding Your Growing Season: A Year-Round Adventure
One of the most significant advantages of a polytunnel is its ability to extend the growing season, allowing you to enjoy fresh produce for a more extended period. With proper planning and temperature control, you can venture into winter gardening, cultivating cold-hardy crops and enjoying the satisfaction of a year-round garden oasis.

Conclusion: Cultivating Success Under Cover
As you bask in the success of your DIY polytunnel project, savor the prospect of cultivating a thriving garden sanctuary. Your customized growing space opens doors to year-round gardening, protection from unpredictable weather, and the joy of experimenting with a diverse range of plants. With careful planning, thoughtful construction, and ongoing care, your polytunnel becomes not just a structure but a living testament to your gardening passion and resourcefulness.

