
Table of Contents
Why Start Seeds Indoors
Starting seeds indoors gives you a significant head start on the growing season, allowing you to transplant established seedlings when outdoor conditions are ideal. This is particularly valuable for gardeners in northern climates where the outdoor growing season is short.
Indoor seed starting also saves money compared to buying transplants from garden centers. A single packet of seeds typically costs a fraction of what you would pay for six nursery plants, and you get far more plants from each packet.
Perhaps most importantly, starting from seed gives you access to an enormous variety of plants that may never appear at your local garden center. Rare heirloom tomatoes, unusual pepper varieties, and specialty herbs are all available as seeds from specialty catalogs.
Essential Seed Starting Supplies
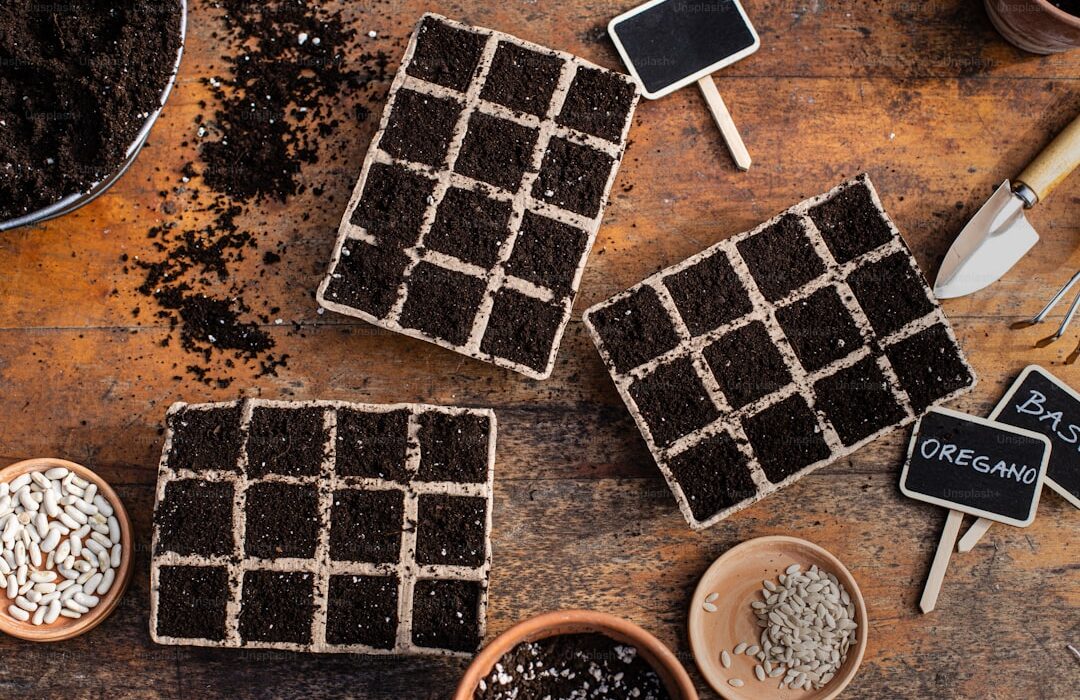
Before you begin, gather these essential supplies to set yourself up for success. You will need seed starting trays or containers, a quality seed starting mix, labels, a spray bottle for watering, and a light source.
- Seed starting trays with drainage holes or cell packs
- Dome lids or plastic wrap for humidity retention
- Seed starting mix (not regular potting soil)
- Plant labels and waterproof marker
- Spray bottle for gentle watering
- Grow lights or a bright south-facing window
- Heat mat for warm-season crops (optional but helpful)
- Small fan for air circulation
Avoid using garden soil or regular potting mix for seed starting, as these are too heavy and may contain pathogens that cause damping off disease in seedlings.
Choosing the Right Seed Starting Mix
Seed starting mix is lighter and finer than regular potting soil, providing the perfect environment for delicate roots to develop. A good mix should be sterile, well-draining, and able to retain moisture without becoming waterlogged.
Commercial seed starting mixes typically contain peat moss or coconut coir, perlite, and vermiculite. You can also make your own by combining equal parts peat moss (or coir), perlite, and vermiculite.
Moisten your seed starting mix before filling containers. It should feel like a wrung-out sponge — damp but not dripping. Dry mix repels water and takes much longer to absorb moisture evenly.
When to Start Seeds Indoors
Timing is critical for successful seed starting. Each plant variety has its own timeline based on how many weeks it needs to grow before transplanting outdoors after the last frost date.
To calculate your start date, find your average last frost date and count backward by the number of weeks indicated on the seed packet. For example, if tomatoes need 6-8 weeks indoors and your last frost is May 15, start seeds between March 20 and April 3.
- Tomatoes: 6-8 weeks before last frost
- Peppers: 8-10 weeks before last frost
- Broccoli and cabbage: 6-8 weeks before last frost
- Lettuce: 4-6 weeks before last frost
- Herbs (basil, parsley): 6-8 weeks before last frost
- Flowers (marigolds, zinnias): 4-6 weeks before last frost
Step-by-Step Seed Starting Process
Fill your containers with pre-moistened seed starting mix, pressing gently to eliminate air pockets while keeping the mix loose. Leave about a quarter inch of space below the rim for watering.
Check the seed packet for planting depth. A general rule is to plant seeds at a depth of two to three times their diameter. Very tiny seeds like lettuce and petunias should be pressed onto the surface without covering.
Place two to three seeds per cell to ensure at least one germinates. Once seedlings develop their first true leaves, thin to one strong seedling per cell by snipping the weaker ones at soil level with scissors.
Cover trays with dome lids or plastic wrap to maintain humidity. Place in a warm location or on a heat mat. Most vegetable seeds germinate best at soil temperatures between 65 and 85 degrees Fahrenheit.
Providing Adequate Light
Light is the most commonly underestimated factor in successful seed starting. Seedlings need 14 to 16 hours of bright light daily. A sunny window rarely provides enough light, resulting in leggy, weak seedlings that stretch toward the glass.
Full-spectrum LED grow lights are the most efficient and affordable option for indoor seed starting. Position lights two to four inches above seedling tops and raise them as plants grow. Most LED panels draw minimal electricity and last for years.
If you notice seedlings leaning or stretching, they need more light. Increase the duration, move lights closer, or add supplemental lighting. Rotating trays daily also helps seedlings grow straight and evenly.
Watering and Humidity Tips
Consistent moisture is essential for seedling health, but overwatering is the number one killer of young plants. Water gently from the bottom by setting trays in a shallow dish of water and allowing the mix to wick moisture upward.
Remove humidity domes once most seeds have germinated to prevent fungal problems. Good air circulation from a small fan set on low speed strengthens stems and reduces disease risk.
The soil surface should remain evenly moist but never soggy. If the top layer dries slightly between waterings, that is generally fine. Watch for any seedlings that wilt or yellow, as these may signal overwatering.
Hardening Off Your Seedlings
Hardening off is the critical process of gradually acclimating indoor seedlings to outdoor conditions. Skipping this step leads to transplant shock, sunburn, and potentially losing your entire crop of seedlings.
Begin hardening off about one to two weeks before your planned transplant date. Start by placing seedlings outside in a sheltered, shaded spot for two to three hours. Gradually increase sun exposure and time outdoors over seven to ten days.
Watch weather forecasts carefully during this period. Bring seedlings inside if temperatures will drop below 45 degrees Fahrenheit or if strong winds or heavy rain are expected. By the end of the hardening off period, seedlings should be outside all day and night.
Common Seed Starting Mistakes
The most common mistake is starting too early. Overgrown, root-bound seedlings perform poorly compared to younger, vigorous transplants. Follow the timeline on your seed packets and resist the urge to start weeks ahead of schedule.
- Starting seeds too early or too late for your zone
- Using heavy soil instead of seed starting mix
- Insufficient light causing leggy, weak seedlings
- Overwatering leading to damping off disease
- Forgetting to harden off before transplanting
- Planting seeds too deep or too shallow
- Keeping humidity domes on too long after germination
- Not thinning seedlings to prevent overcrowding
Learning from mistakes is part of becoming a better gardener. Keep a garden journal to record what works and what does not, and refine your approach each season.
Frequently Asked Questions
Do I need grow lights to start seeds indoors?
While a very bright south-facing window can work for a few seedlings, grow lights produce significantly better results for most gardeners. LED grow lights are affordable, use little electricity, and produce stocky, healthy seedlings that outperform window-grown ones.
Why are my seedlings tall and leggy?
Leggy seedlings indicate insufficient light. Move your light source closer to the seedlings (2-4 inches away), increase the hours of light to 14-16 per day, and ensure you are using a full-spectrum grow light rather than a standard household bulb.
Can I use egg cartons for seed starting?
While egg cartons work in a pinch, they are not ideal. They are very small, dry out quickly, and can develop mold. Proper seed starting trays with cell packs are inexpensive and provide much better growing conditions for seedlings.
When should I start fertilizing my seedlings?
Wait until seedlings develop their first set of true leaves (the second pair that appears). Then begin feeding with a diluted liquid fertilizer at one-quarter strength every one to two weeks. Seed starting mix contains no nutrients, so feeding is important once seedlings are actively growing.